
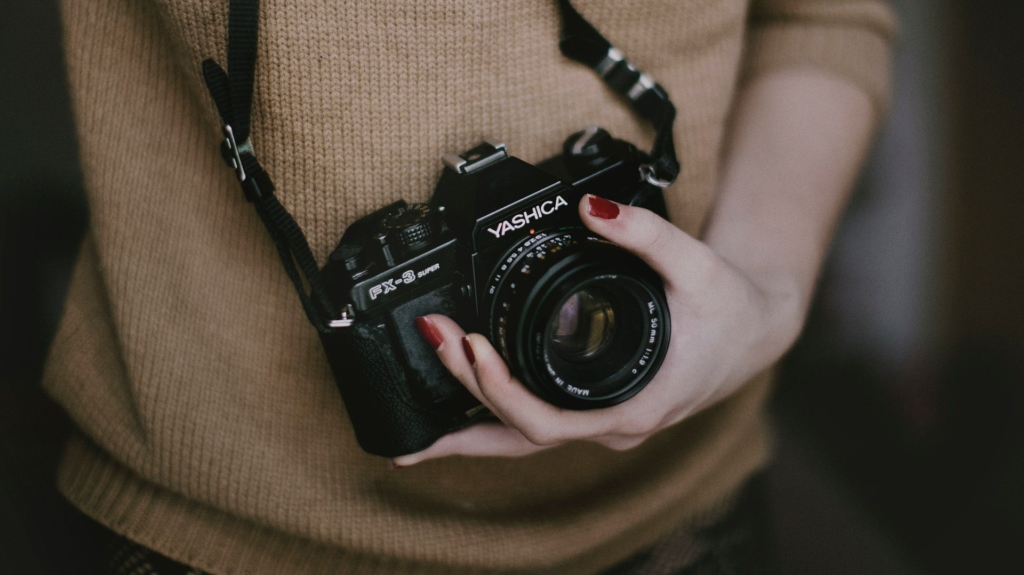
We often are asked for tips on improving photo resolution so that clients can take their own photos for marketing purposes. While I usually recommend a professional photographer for marketing collateral, there are situations when taking photographs on your own makes sense. Thus, we’ll share the following tips for taking pictures that can be used for print purposes since the photos will be high resolution.
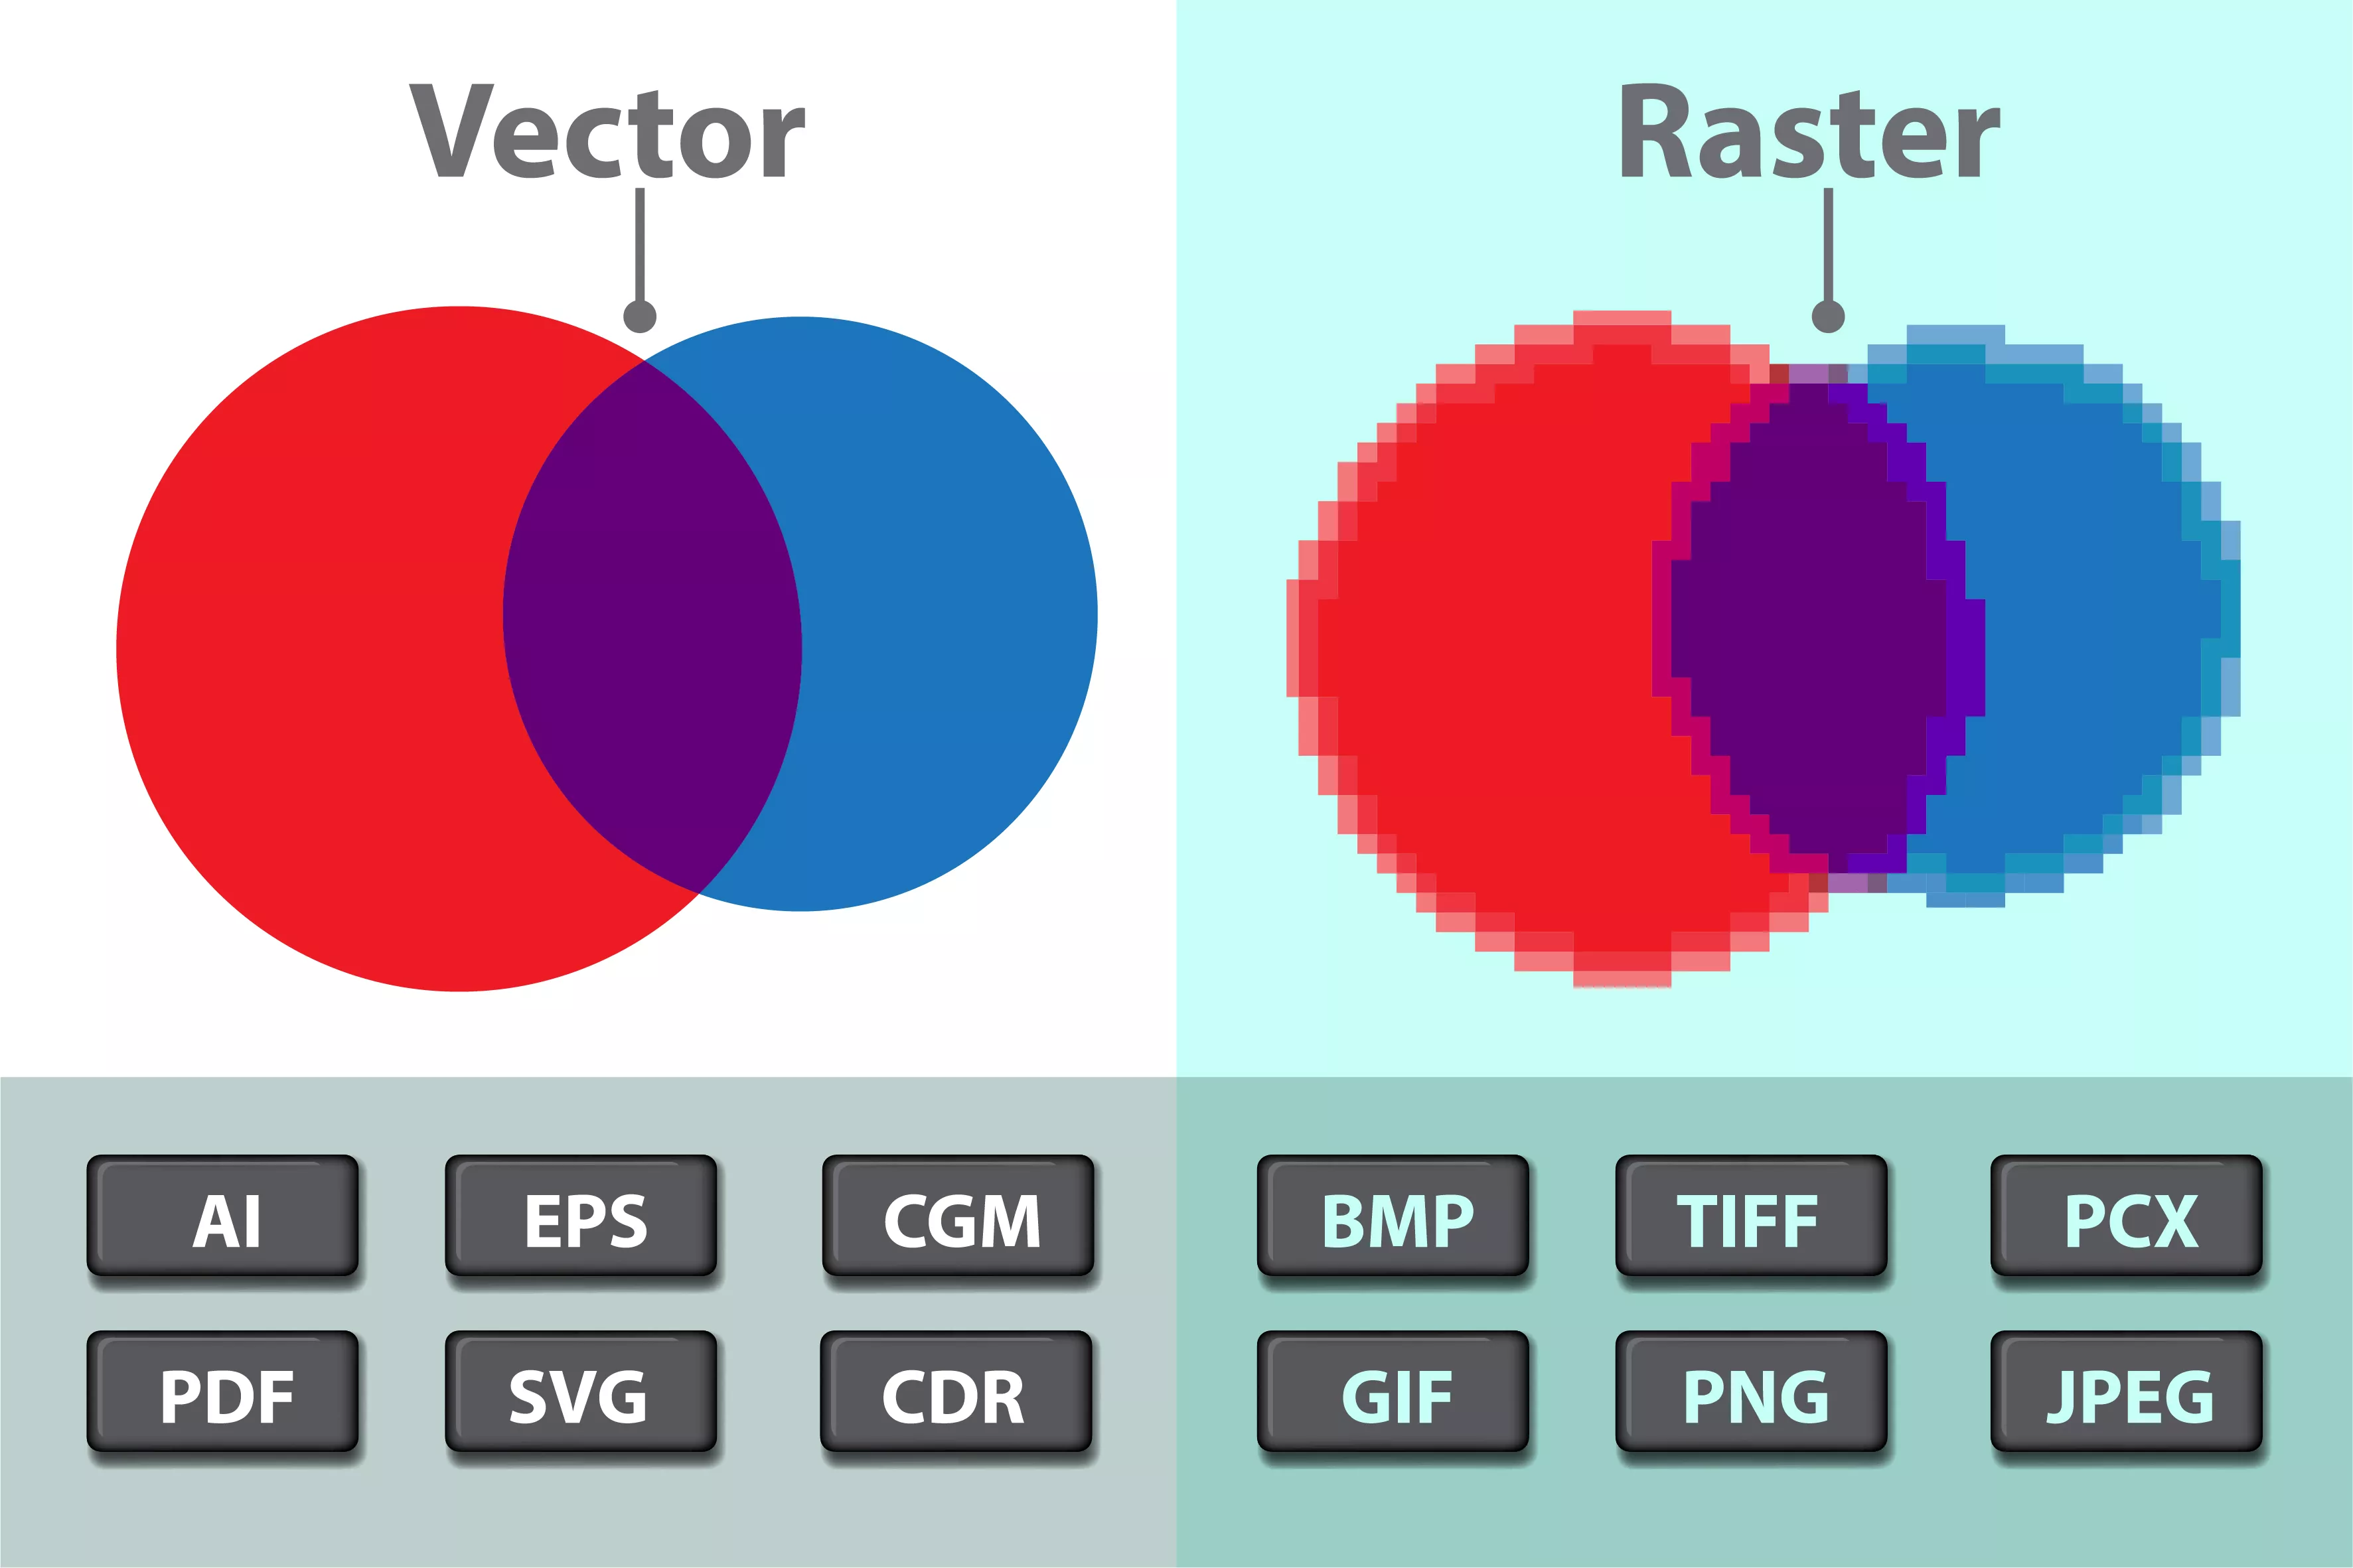
When taking photos for professional use, here are some things to keep in mind so that your photos are taken at the highest resolution. We can always downsize the resolution (or crispness) of a photo but we can’t always increase it.
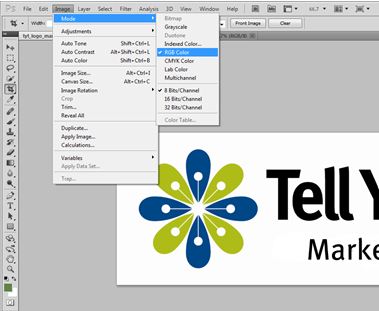
How to set your digital camera to its highest resolution setting:
Step 1: In the menu, go to “image quality” and select the highest setting.
Step 2: Then, in the menu, go to “image size” and select the largest size.
Although there is no guarantee, most photos taken at these settings should be acceptable. The only reason not to keep your camera on these settings all the time is that it eats up more memory, which means you can’t store as many pictures on the memory card.
Important: When emailing images, do NOT reduce them in size. Images should be emailed as an attachment at their original size. You can email one photo at a time, even if the size is really big by visiting https://www.hightail.com/, which has a free option. Alternatively, Tell Your Tale sets up DropBox folders for clients, allowing clients to easily save large files to our folder without concern about space. Other organizations use FTP sites so clients can upload large files from remote locations. Of course, the back-up manner to share large files is to save them to a CD or DVD and then have that delivered to the end user/agency.
We hope you find these tips helpful in taking high resolution (hi res) images. If you have other tips to share on this topic, we welcome your comments. Thanks.
– TYT


